On this Father’s Day, it’s time for a quick look at just three of the many things I learned from my Dad, all of which are related to photography in some way.
1) Follow your folly
Before I was born, my Dad was a jazz musician. He played on cruise ships that went around the world in the 1950s and 60s. Pretty cool, right? This was a working class boy from Wealdstone in west London – not known as a hotbed of the jazz scene – but despite the many reasons not to, he earned a living playing summer seasons in English seaside resorts before taking to the high seas for some amazing experiences.
Even back on shore working a regular job as my sister and I were growing up, he’d still play semi-pro gigs on a lot of Saturday evenings. I fondly remember him doing a quick soundcheck in the hall by the front door as the football results came in on Saturday evening.
He’d play the theme from the kids’ TV programme The Wombles before loading the car up with the big Vox amp and electric bass and heading off to play at a dinner dance somewhere.
I was in a band in college, and still plink on the guitar a little bit, but the larger lesson he taught me is that it was worth taking a punt on what you really wanted to do, even if you have to hold down a day job too.
2) Old Ektachrome slides make the world look great
Safely back in Buckinghamshire from his travels, Dad had a bunch of slides he’d taken on his adventures. On rainy weekend afternoons we’d occasionally get out the little slide viewer (that kind of looked like this one) and go through some of the boxes.
There was the Sydney Harbour Bridge; there was Dad with his double bass standing under a Sunset Boulevard sign in LA (how strange that fifty years later my in-laws would live just off Sunset in West LA). Backlit by the viewer, the skies in the slides looked a deep deep blue, the exotic locations tantalising, and my Dad cut a dashing figure (jazz men always look dapper).
3) Letting your kids commandeer a present can be worth it
One Christmas when I was a teenager, my Dad got a SLR as a present from Mum. It was a sturdy East German Praktica and it came in a light brown bag with a shoulder strap. Mum also bought a little introduction to photography book.
I don’t know how interested Dad was in photography, to be honest (up to that point most of our family photographs were from a succession of cheap Kodak point and shoots), but I pored over the book, and Dad kindly let me use the camera quite a bit.

I can’t remember what kind of lens it had on it – definitely manual focus though. I ended up using it more than my Dad, but disaster struck when it was stolen while I was taking a shower in a Venice youth hostel while on a trip during college.
I reported it stolen and with the insurance money (based on a generously inflated estimate for replacement from the local camera shop) we bought one of the first autofocus Canon EOS 35mm cameras (a Canon EOS 1000 with a Sigma zoom).
By this stage I’d basically commandeered the camera with my Dad’s blessing, and I pootled around running plenty of rolls of Ilford XP2 film through it – black and white film that can be processed using standard C-41 colour processing systems.
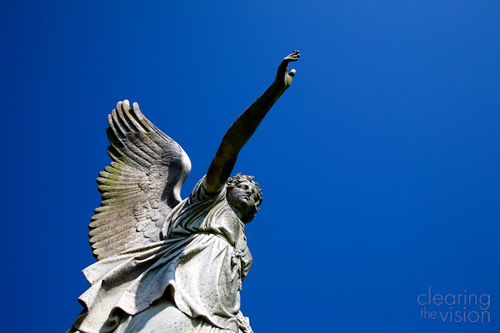
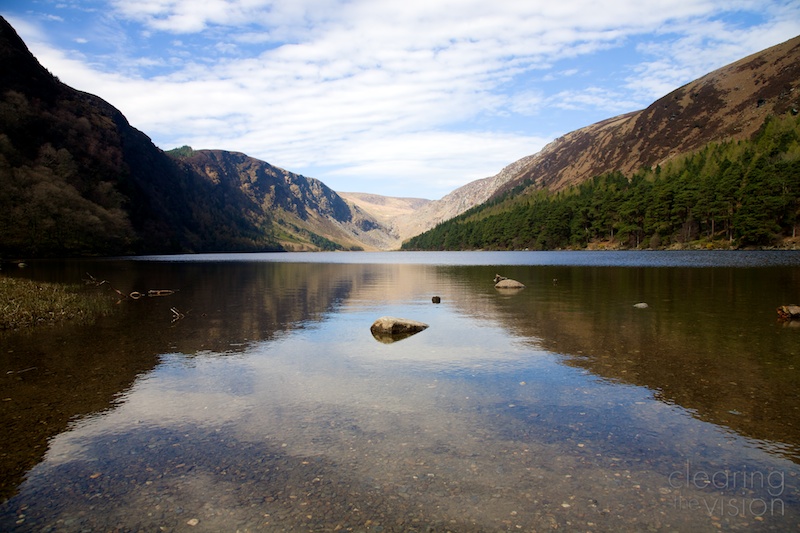
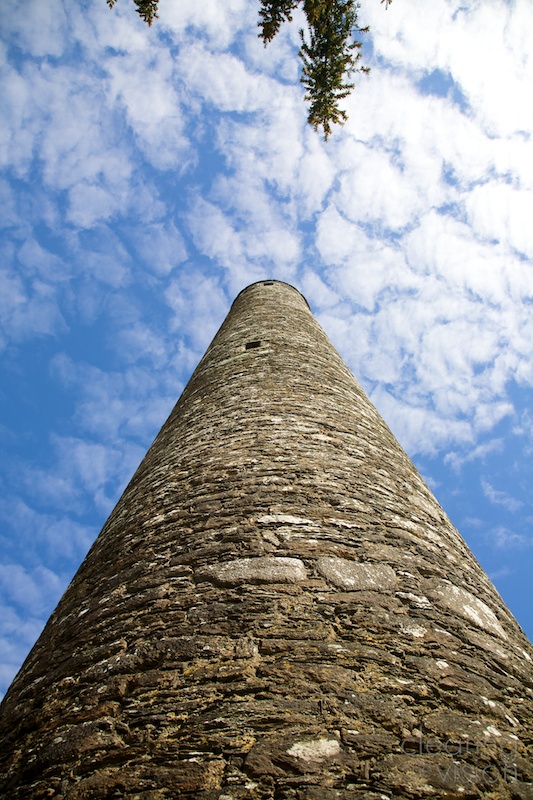
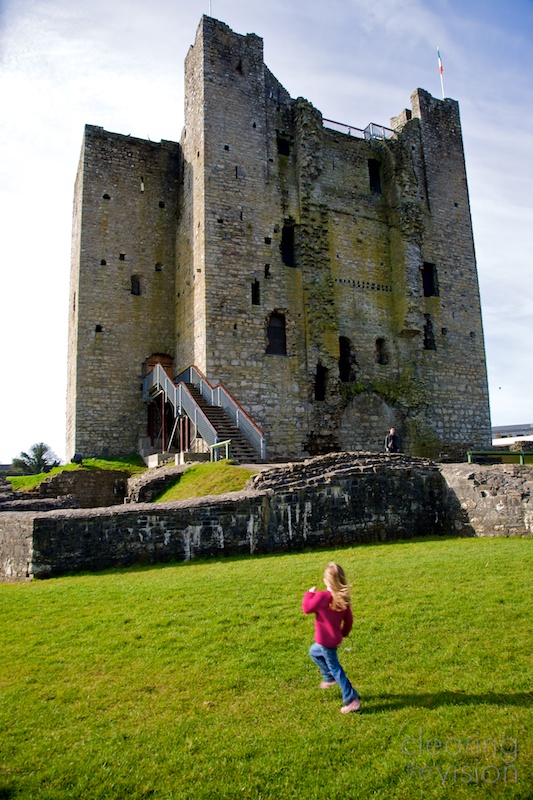
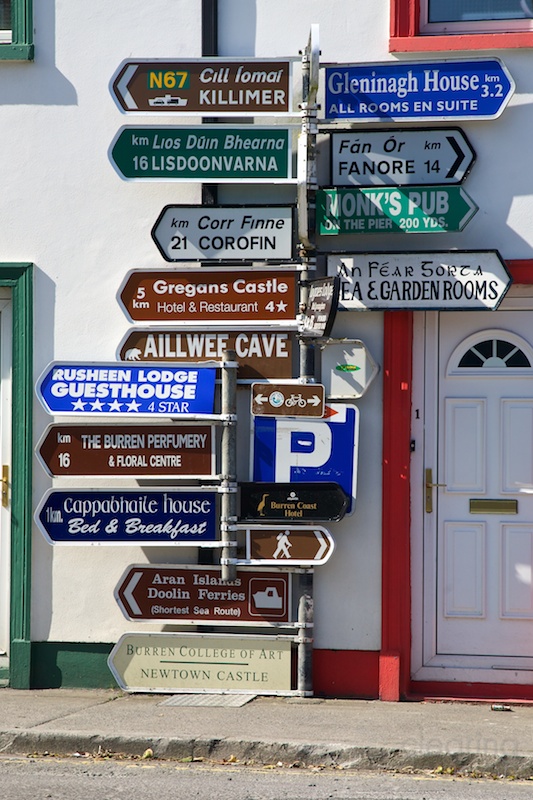
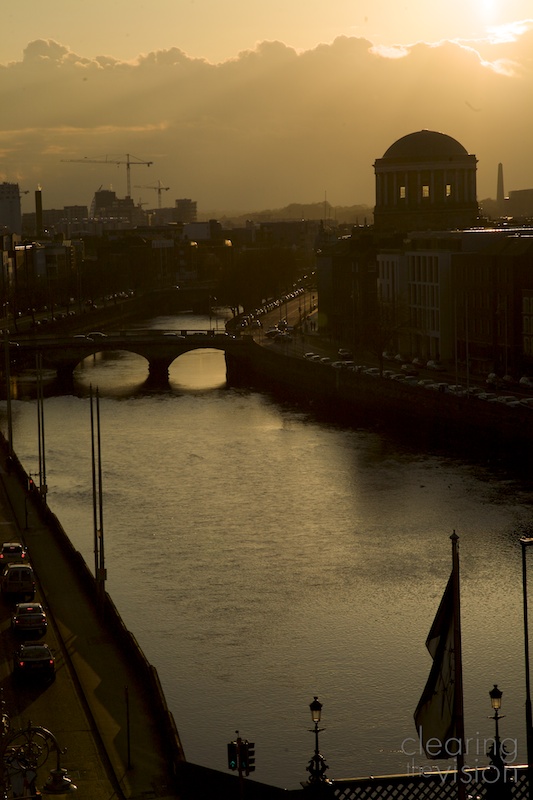
Now when I look back at the images, I’m still proud of some of them, and they clearly show the twin paths that most of my work has taken. First (see Exhibit A above) is the clean almost abstract landscapes that I sell on my Etsy store, and second (see Exhibit B below) is the photojournalism-style children’s portraits that people hire me to shoot.
It would take me nearly 20 years to come back to these two types of work and take them more seriously, but there was definitely a seed sown in the early 90s, thanks to that camera.

I still have the old EOS 1000, and after a pause when a) I mistakenly thought the camera was irreparably borked and b) I foolishly had my head turned by succession of rubbish digital point-and-shoots, it was that camera I picked back up when my daughter was born – the first step on the path that’s brought me here.
So have a good Father’s day, Jim Moore. And thanks for the loan of the camera. Think I’ll get a new battery for it and shoot some rolls of XP-2 with it, for old time’s sake.


 I’m sure parents always wonder what life is like for their kids at school. Not just what they do, but how they do it, what it’s like in this world that’s so familiar to the children and so closed off from the parents, because we’re just not there very much.
 With the photographs, I was aiming to tell the story of the day in a number of ways: