Categories
Children's portraits Tips/Tutorials

How to Shoot Portraits in Harsh Light

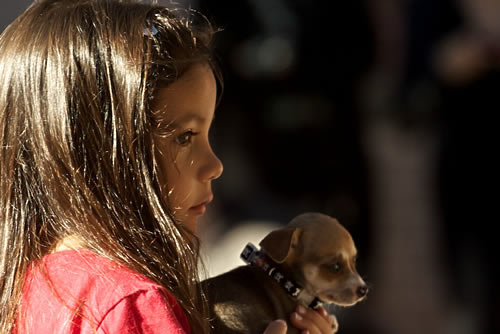
Up here in the high desert of New Mexico we have beautiful but very strong light. This can be great for creating dramatically contrasty shots, but not so good for taking flattering portraits of people.

Camera sensors find it hard to capture the full dynamic range of both the fully-lit areas and those parts of the image in shadow. So the highlights can be blown out to white, and the shadows full black – neither containing any detail.  This can lead to foreheads being bright white and the eyes being in black shadow.

Bright light also makes children squint and sweat – not that attractive.

With all this in mind, when I’m organising portrait sessions for clients, I try to schedule them early in the morning or later in the afternoon.

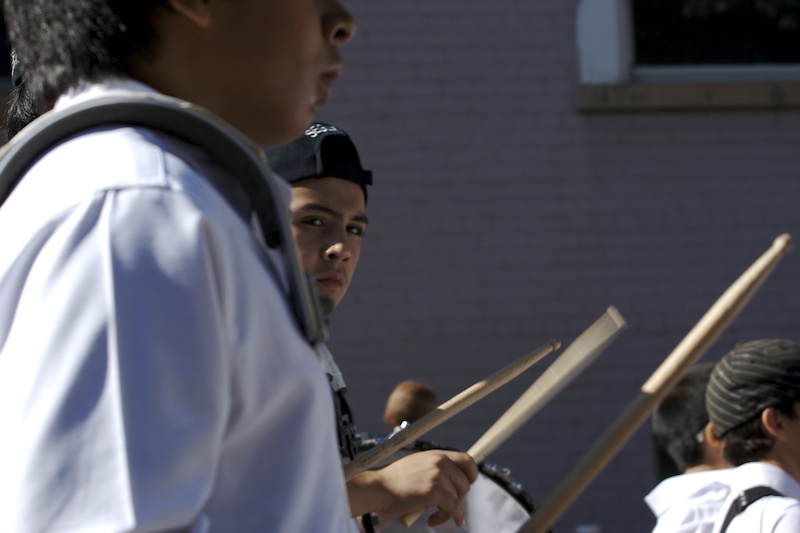
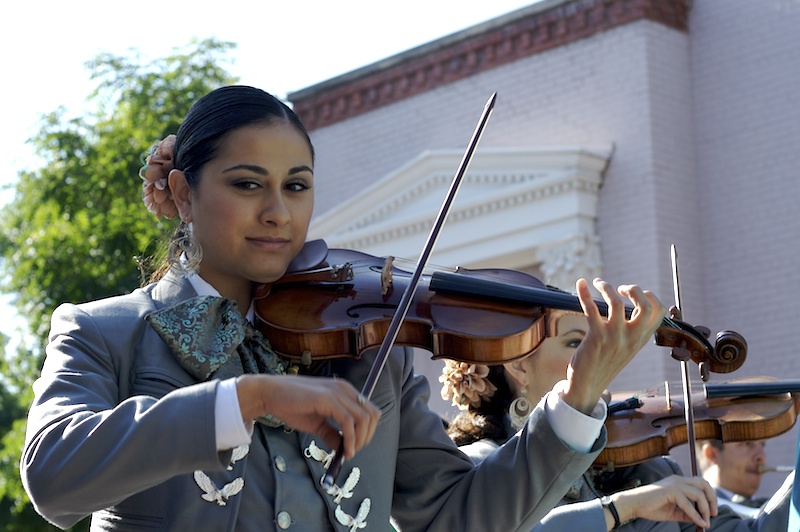
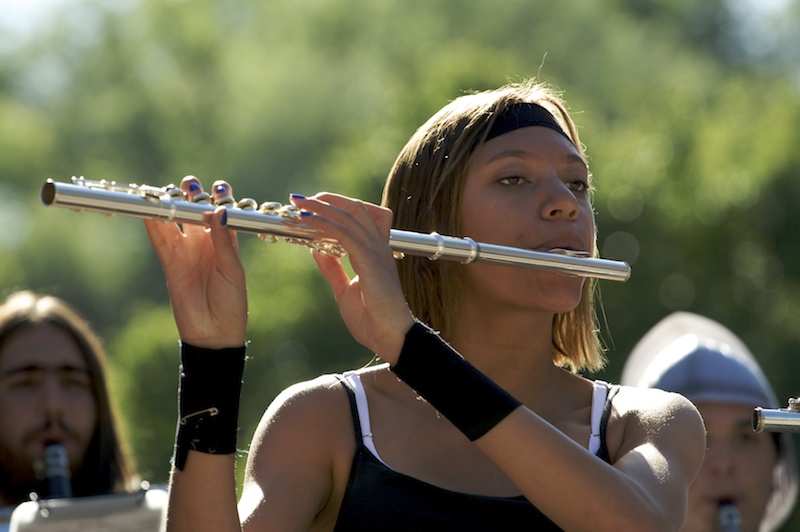
But in real life we do things during the mid-day hours. I was recently at a birthday party for a friend of my daughter. The party was held at an outdoor swimming pool around lunchtime. The food and cake were laid out on a light-colored concrete deck –  there was almost no shade.

The problem with harsh light: blown highlights on the poor kid's nose and across his shoulders, and the tell-tale raccoon eyes in shadow.

From a photography perspective, it was brutal, but the kids were running around having a good time and there were some nice images to capture.

So here are some tips for shooting in harsh light.

1) Find some shade

The softer more diffuse light you find in the shade is much better for photographs. And if your subjects are looking out towards brighter areas, there’s a good chance you’ll get flattering catchlights in their eyes.

Here's a much happier kid in the shade, with much more even lighting and catchlights in his eyes

2) Get in tight

Even if your subject’s in the shade, there might be some sunlit areas in the background, which will cause distractingly bright blown out spots. Getting in tight – zooming in so your subject fills the frame  will reduce the chances of that.

And if your subject is in the sun, getting in tight will help the camera expose for just what’s important in the shot.

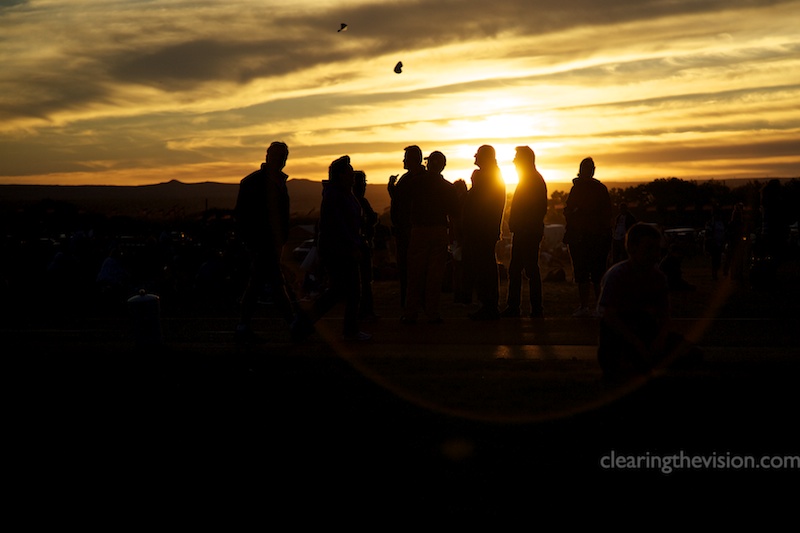
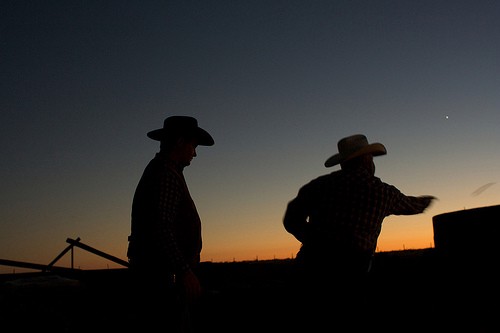
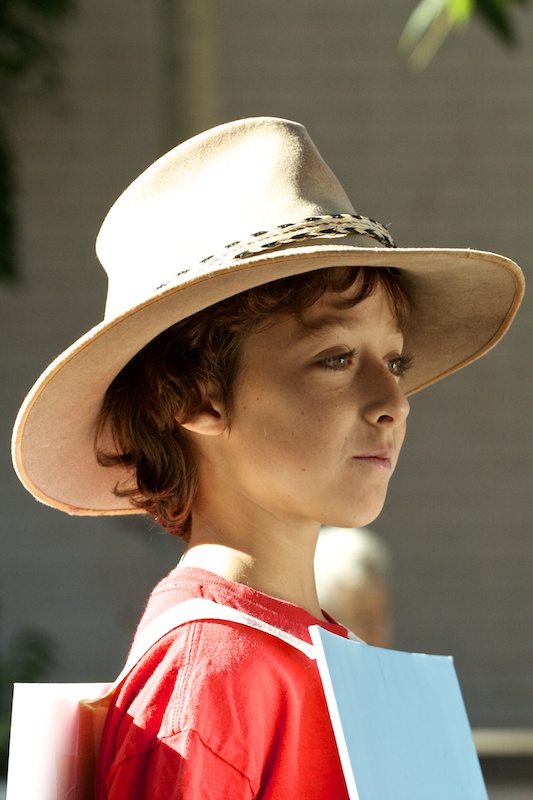
3) Use the backlight

Backlit poses work well to frame the subject with some flattering light.

A subject lit with strong sun from behind might well be pretty well lit from the front with the ambient light from the bright day. If you keep the subject between the yourself and the sun, the sun will act as a rim light, helping to separate the subject from the background and lending a pleasing halo-like effect.

The other benefit of having the sun behind the subject is that they won’t be squinting as they stare right into it.

Your subject might well be underexposed in the scenario, so you can either adjust for exposure on site, and/or fix in it post (especially if you’re shooting RAW) – often a levels adjustment will help, too.

4) Use fill flash or a reflector

To be honest, I almost never do this (from laziness not for any better reason), but using a fill flash will remove some of the racoon-eye shadows you can get on bright days.

You can also use a reflector to bounce some light up into faces. This can be a formal photographic reflector if you have one handy, or you can improvise with some white paper or the like. Sometimes the scene you’re shooting includes its own natural reflector, for example if a child is drawing and leaning close to the paper.

The fill-in flash and wide angle lend this shot a slightly surreal feel, enhanced by the lomo-style processing.

5) Filter the light

This is more of a pro technique than something you’ll be able to find on the fly, but filtering the light using a white translucent photo umbrella or a big diffusion panel (like these from PhotoFlex) takes the edge of the brightness. Some wedding photographers travel with their own white tent that they’ll use if they’re stuck for some good shade.

6) A Neutral Density Filter

If (like me) you tend to shoot as open as possible to blur the background, then the brightest days can create real troubles. Even at the lowest ISO, your fast glass might just be letting in too much light even at the fastest shutter speed you’ve got. To get down to f/2.8 or thereabouts to give you the narrow depth of field you’re after, you can use a neutral density (ND) filter – essentially sunglasses for your lens. The filter blocks a proportion of the light from entering the lens, but won’t change the colour temperature of the light that does get through.

(Landscape photographers use a graduated neutral density filters which reduce the light only from the top half of the filter. These work well at balancing out a bright sky and darker foreground, but they’re less useful for portrait shooters who need things a little less regular).

I hope these tips will give you some options when you find yourself at a high-noon shoot-out. And let me know if you’ve got any other good suggestions.

Categories
Children's portraits Personal

Clearing the Vision – the Creation Myth

Every organization needs a creation myth that encapsulates its core values and beliefs. Here (with a bit of help from Google, and with my tongue more or less in my cheek) is the CTV creation myth. Hope you like it.

Categories
Personal

In the Glowming

Up we go

(sorry for the terrible pun). We were down at the Balloon Glow at the Albuquerque International Balloon Fiesta last night. It was great, considering all the thousands of people who come out to see balloons not take off.

It’s also a volatile environment if you’re trying to take photos. Tons of people, increasing darkness, and changing lighting situation by the second. You can’t shoot manually, because when you meter correctly on one glowing balloon, the one next to it then starts firing up and it’s twice as bright as it was. But if you use autoexposure, in the split second between when you metered and when you shoot, the light has changed anyway.

So it’s a bit of a crap shoot, but when you get lucky, there can be some great results. Here’s a quick selection.

Categories
Creativity News Personal

The drive for more good photos in the world

Young knitter at work

As you may know, in addition to my family and children’s photography work, I’m also a web designer. Juggling this combination has been tricky at times, and it’s felt like I’ve not given the photography side of the business the attention it’s deserved.

So after a particularly busy year of web work that’s left me tired and not very happy, I’ve decided that it’s time to commit myself and my time more fully to the photography.

Simply put, my aim is that there should be more good family and children’s portraits in the world. And here’s how I think I can help, in my small way:

  1. Hiring me for a portrait session – if you’re in or around Santa Fe or Albuquerque (or would like to cover my travel expenses to wherever you are), I’ll come to you for a portrait session. This is the core of what I do and I love it.
  2. Hiring me for a workshop – again, if you’re local and if you’re interested in improving  your own photography skills (especially shooting your own children), this is a great way to move from snaps to photographs you can be proud of.
  3. Reading the blog and getting involved – I’m going to be ramping up the useful tips and techniques aimed at parents who aren’t in the vicinity who want some solid advice. And so it’s not me talking all the time, I’d love your comments, questions and suggestions as we build this resource.

There’ll be other things happening too, including a new look and structure for the website – but that’s the overall plan.

As I carry out this shift, I’ll also be blogging about the move from being less than happily self-employed to what I hope will be a more considered and self-fulfilled way of doing things. You can follow my progress (complete with lots of my photographs) over at When If Not Now.

Categories
Moore Consulting

How to Spot a Great Web designer from 250,000 miles

Grover Sanschagrin, co-founder of PhotoShelter recently wrote a helpful blog post outlining things photographers should think about when choosing a web designer. He makes some good points, and then very kindly recommends me personally.

I’m one of eight recommendations, and Grover explains

I’ve created a list of designers (many of them are also photographers) who I feel are worthy of consideration. All of these designers are also experienced with PhotoShelter’s advanced customization capabilities, which means they know how to integrate all of PhotoShelter’s tools into a website or blog.

If you’re a photographer looking for a new site, especially if you’d like it to integrate it with PhotoShelter, I’d love to hear from you. And you don’t just have to take my word that I can help — you can ask Grover.

You can read Grover’s full post here.

Categories
Moore Consulting Santa Fe and New Mexico

Cattle Drive article for New Mexico Magazine wins award

An article I wrote last year for New Mexico Magazine has just been awarded an Award of Merit for Travel Feature from the IRMA (International Regional Magazine Association).

The magazine asked me to go on a cattle drive at the Burnt Well Ranch near Roswell, NM. I hadn’t ridden a horse in 20 years, and had no idea about being a cowboy — which was why they sent me, I think.

There’s an excerpt from the piece here, and here are some of the photographs I took (in an amateur capacity on this occasion) while on the drive.

Categories
Children's portraits Santa Fe Tips/Tutorials

The Pet Parade – working with children and animals

It’s Fiestas time in Santa Fe, one of the highlights of which is the  Desfile de los Ninos, also known as the Pet Parade. Originally an occasion for children to bring their pets to be blessed by the priest, it’s broadened into a relaxed and funky parade including high school bands in fancy dress, chickens in cages, some amazing costumes and still a large number of children and pets (including this year chickens, rabbits, cockatoos, ferrets, cats and lots of dogs).

Shooting a parade like this sounds as if it would be easy with all the great spectacles on offer, but it can actually be tricky. The first problem is that you can’t move around too much – I had my spot on the side of the parade route and that was about it. So choose wisely and watch the direction of the sun – I was almost shooting straight into it today, which wasn’t ideal (but I was right outside the door to our office, so at least I had hot coffee).

Another problem is that there’s likely to be a lot of visual clutter. Your naked eye filters out the messy background when you see a cute dog dressed up like a cowboy, but the camera will also show the random feet and the white line on the street that your eye glossed over. The other people in the parade (and the other people watching it from across the street) make it hard to get clean shots (especially if you can’t move around to edit them out). You can shoot wide open (in other words with a lowest number aperture your lens can deliver) to create a narrow depth of field, blurring the background, but this brings up another problem – lens choice:

Sometimes you want an wide-ish establishing shot – to show a whole group of folks as they approach, for example. Other times, it’s the little details that stand out. This mixture is a good approach, but that calls for a range of maybe 28mm – 200mm or more on a full frame camera (around 18mm – 130mm on a crop sensor). That’s a big ask of any single lens especially if you want some good sharpness wide open.

In other years I’ve swapped between my 24-105mm f/4L and 70-200mm f/4L on one body, but that’s a bit of a pain, so this year I cheated and used two camera bodies, putting the 70-200mm on my old backup Rebel XT and keeping the 24-105mm on my 5D. The downside was that I looked like a newspaper shooter, but the upside was that I had the equivalent of a full-frame range of 24-320mm at my disposal.

I wasn’t trying hard to capture decent shots of every group that passed, just photograph the things that grabbed me the most.

Here’s a selection from this year’s parade, with a few from earlier years thrown in for good measure.

Categories
Children's portraits Personal

First day of Kindergarten

Getting ready for first day of school

Fionnuala started kindergarten today, and even though she’s been going to preschool for a couple of years, there’s no denying that her first day of real school is a landmark.

She’s been increasingly excited as the day approached, and was the first one down this morning, anxious not to be late.

I wanted to get a shot of her getting ready herself, to show both her growing independence and how little she still looks to us. That contrast between growing up and still being a so young seemed to be what today was about.

Wearing her new strawberry socks (held back for today) and sitting at the top of the stairs, this one gets close to what I was after.

I had the wrong lens on for this really (the 24-105mm f/4L). It’s pretty dark in the hall, so I had to push the ISO up and there’s still a little motion blur on her fingers. I also adjusted the exposure compensation down 1/3 of a stop – partly to get me a faster shutter speed, but mainly to show that it wasn’t bright in the hall (and play up some of that reflected light on the concrete from the bathroom window at the back). A ‘perfectly exposed’ shot here would have looked too bright to me, and I didn’t mind losing the shadow detail around her skort.

Hand-held at 1/10 sec is not recommended, but the image stabilization seems to have helped quite a bit. A fast lens (like one of the primes I normally use) would have been the better choice for a faster shutter speed, and blurred the background a little more, but we were just heading out the door. Sometimes you just have to get the shot with whatever you can.

Details: Canon 5D, AV mode, 1/10 sec, f/4.0, 47mm, ISO 1600, -1/3EV.
Aperture work: slight crop, noise reduction, manual white balance adjustment, vignette added, shadows and highlights tweaked.

Categories
Children's portraits Personal

Golf shoes

It’s been a busy summer here, with lots of web work and a trip back to England. But we’ve had some time to relax a little.

Here’s Fionnuala on the fake grass in her golf attire. She hits a ball with a piece of PVC pipe into our rock-covered drop inlet. I’ve no idea how she learned about golf, but her version is pretty accurate.

I like the simplicity of this image’s composition, with strong angles, lots of the green offset with the splash of colour in the stripey socks. And the fact that she’s got her shoes on the wrong way round.

Image info:  Canon 5D, EF 50mm f/1.4, ISO 250, f/5.6, 1/50

Categories
Moore Consulting

Social Media Case Study — Santa Fe International Folk Art Market

Having a solid website is a great start, but increasingly a good social media offering can really make the difference with your online presence.

I built the website for the Santa Fe International Folk Art Market several years ago, and have been maintaining it for them ever since, adding new artists as they’re selected for the Market, and keeping the press releases and press cuttings up to date.

But the organization became increasingly aware that they needed to do a better job of communicating what was happening with the Market throughout the year.

Great material, no time

The Santa Fe International Folk Art Market, produces the largest international folk art market in the world, and its success led to Santa Fe’s designation as a UNESCO City of Folk Art. The Market hosts an annual festive, weekend event on Museum Hill in Santa Fe, New Mexico attended by hundreds of hand-picked artists and thousands of visitors.

Selecting the artists, putting on the event and tracking the impact of the money raised by the artists when they returned home produces some amazing stories. But the Market, a non-profit with a small staff, didn’t have the resources and skills to tell those stories effectively online.

So they asked if I could help.

21st Century story-telling

Together we devised a publication schedule for blog posts and Facebook updates that would lead up to the Market in July and beyond. Some of the stories introduced new artists who would be attending for the first time, while others looked at the impact the Market makes on the artists’ communities when the artists return home with the money they’ve made in Santa Fe. We also looked at the role volunteers play in making the Market happen every year.

I then wrote the blog posts, often interviewing people involved, or working from suggestions and notes from the Market staff. As the Market arrived I also photographed artists and shoppers, and kept Facebook and Flickr up to date with shots from this year’s event.

This combination of writing, photography and internet knowledge is a crucial part of contemporary story-telling, but often its overlooked or undervalued. People can see the need to spend money (or commit internal resources) on technical infrastructure or graphic design, but somehow think that good content and images will magically appear without any work or expense.

Inviting contributions from visitors

Another part of a successful social media campaign is to involve your followers as much as possible. To this end, we invited people who had attended the Market to upload their best images to the Market’s Flickr pool, building a beautiful crowd-sourced overview of the event.

The Market currently has nearly 2000 people in its Facebook group, and monitoring and replying to the posts and comments there is another important part of fostering conversation between these committed supporters of the Market.

Conclusion

In the eight months between May and December 2009, four blog posts appeared on the Market site. Once we started working on this for the Market, we published 24 blog posts in the 8 months between January and August this year. We also gained around 1000 Facebook followers in the same period. The feedback from visitors to the site and the Facebook page has been positive, and we’ll be working on another plan for the 2011 Market.