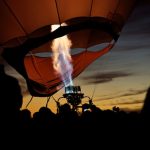
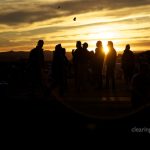
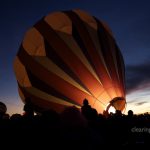
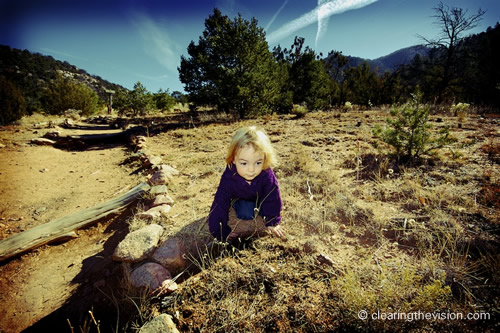
Up here in the high desert of New Mexico we have beautiful but very strong light. This can be great for creating dramatically contrasty shots, but not so good for taking flattering portraits of people.
Camera sensors find it hard to capture the full dynamic range of both the fully-lit areas and those parts of the image in shadow. So the highlights can be blown out to white, and the shadows full black – neither containing any detail. This can lead to foreheads being bright white and the eyes being in black shadow.
Bright light also makes children squint and sweat – not that attractive.
With all this in mind, when I’m organising portrait sessions for clients, I try to schedule them early in the morning or later in the afternoon.
But in real life we do things during the mid-day hours. I was recently at a birthday party for a friend of my daughter. The party was held at an outdoor swimming pool around lunchtime. The food and cake were laid out on a light-colored concrete deck – there was almost no shade.
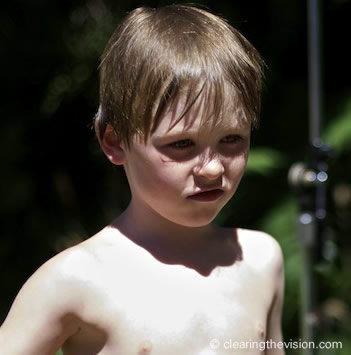
From a photography perspective, it was brutal, but the kids were running around having a good time and there were some nice images to capture.
So here are some tips for shooting in harsh light.
1) Find some shade
The softer more diffuse light you find in the shade is much better for photographs. And if your subjects are looking out towards brighter areas, there’s a good chance you’ll get flattering catchlights in their eyes.

2) Get in tight
Even if your subject’s in the shade, there might be some sunlit areas in the background, which will cause distractingly bright blown out spots. Getting in tight – zooming in so your subject fills the frame will reduce the chances of that.
And if your subject is in the sun, getting in tight will help the camera expose for just what’s important in the shot.
3) Use the backlight
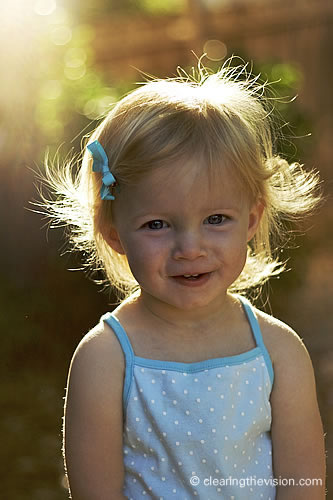
A subject lit with strong sun from behind might well be pretty well lit from the front with the ambient light from the bright day. If you keep the subject between the yourself and the sun, the sun will act as a rim light, helping to separate the subject from the background and lending a pleasing halo-like effect.
The other benefit of having the sun behind the subject is that they won’t be squinting as they stare right into it.
Your subject might well be underexposed in the scenario, so you can either adjust for exposure on site, and/or fix in it post (especially if you’re shooting RAW) – often a levels adjustment will help, too.
4) Use fill flash or a reflector
To be honest, I almost never do this (from laziness not for any better reason), but using a fill flash will remove some of the racoon-eye shadows you can get on bright days.
You can also use a reflector to bounce some light up into faces. This can be a formal photographic reflector if you have one handy, or you can improvise with some white paper or the like. Sometimes the scene you’re shooting includes its own natural reflector, for example if a child is drawing and leaning close to the paper.
5) Filter the light
This is more of a pro technique than something you’ll be able to find on the fly, but filtering the light using a white translucent photo umbrella or a big diffusion panel (like these from PhotoFlex) takes the edge of the brightness. Some wedding photographers travel with their own white tent that they’ll use if they’re stuck for some good shade.
6) A Neutral Density Filter
If (like me) you tend to shoot as open as possible to blur the background, then the brightest days can create real troubles. Even at the lowest ISO, your fast glass might just be letting in too much light even at the fastest shutter speed you’ve got. To get down to f/2.8 or thereabouts to give you the narrow depth of field you’re after, you can use a neutral density (ND) filter – essentially sunglasses for your lens. The filter blocks a proportion of the light from entering the lens, but won’t change the colour temperature of the light that does get through.
(Landscape photographers use a graduated neutral density filters which reduce the light only from the top half of the filter. These work well at balancing out a bright sky and darker foreground, but they’re less useful for portrait shooters who need things a little less regular).
I hope these tips will give you some options when you find yourself at a high-noon shoot-out. And let me know if you’ve got any other good suggestions.

